Newsletter
For newsletter creation we use ReallyGoodEmails (formally known as Beefree).
Logging in
Our project called “OSC organization” with our past newsletters can be found here https://reallygoodemails.com/app/1394029/1380596/projects and accessed through credentials share by Malika or Felix (store in LRZ Sync & Share LMU OPen Science Center folder root). Alternatively, Malika can make a copy of a previous newsletter so it is owned by the organization, and add your private account to the organization for you to keep working on it.
Create a Newsletter
To create a new newsletter, copy the most recent newsletter to ensure the design and formatting remain consistent.
- Open the previous newsletter.
- Click the three dots (⋮).
- Select Make a copy.
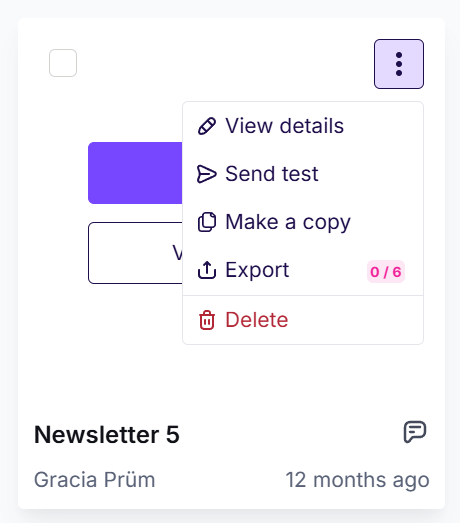
This provides a standardized starting point and helps maintain consistency across all newsletters.
Standardization Checklist
Before publishing, ensure the following elements are consistent throughout the newsletter:
- Date format
- Use one consistent format throughout (e.g., Jan. 8, 2026).
- Avoid mixing formats such as:
- Jan 8
- Jan. 8
- Jan 8, 2026
- Time format
- Use a consistent style (e.g., 14:00 or 2:00 PM).
- Ensure event times are included whenever applicable.
- Academic titles
- Use titles consistently (e.g., Prof. Dr.).
- Spacing
- Maintain consistent spacing between:
- Titles and body text
- Paragraphs
- Images and text
- Maintain consistent spacing between:
- Heading numbering
- Ensure numbered headings continue sequentially throughout the newsletter.
- Text alignment
- Body text should be justified (aligned on both the left and right).
- Currency formatting
- Use a consistent format for monetary values (e.g., €500,000 or 500,000 €, depending on the chosen style).
- Event information
- Present event details in a consistent order throughout the newsletter.
- Links
- Verify that every hyperlink works correctly before publishing.
Adding Content to the Newsletter
After creating a copy of the previous newsletter, you can begin replacing the old content with the new one.
First, click Edit Email.
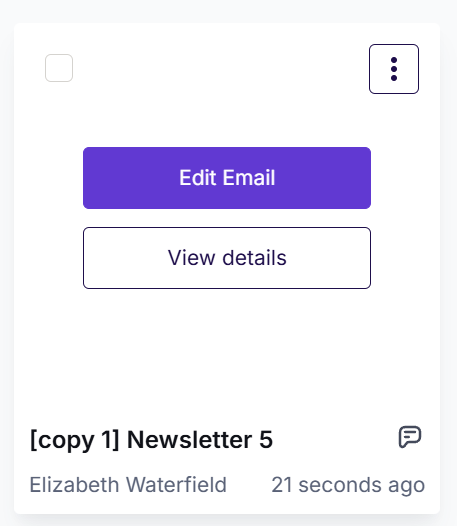
The editor may seem overwhelming at first, but it becomes much easier with practice.
The newsletter is built using Rows and Content blocks.
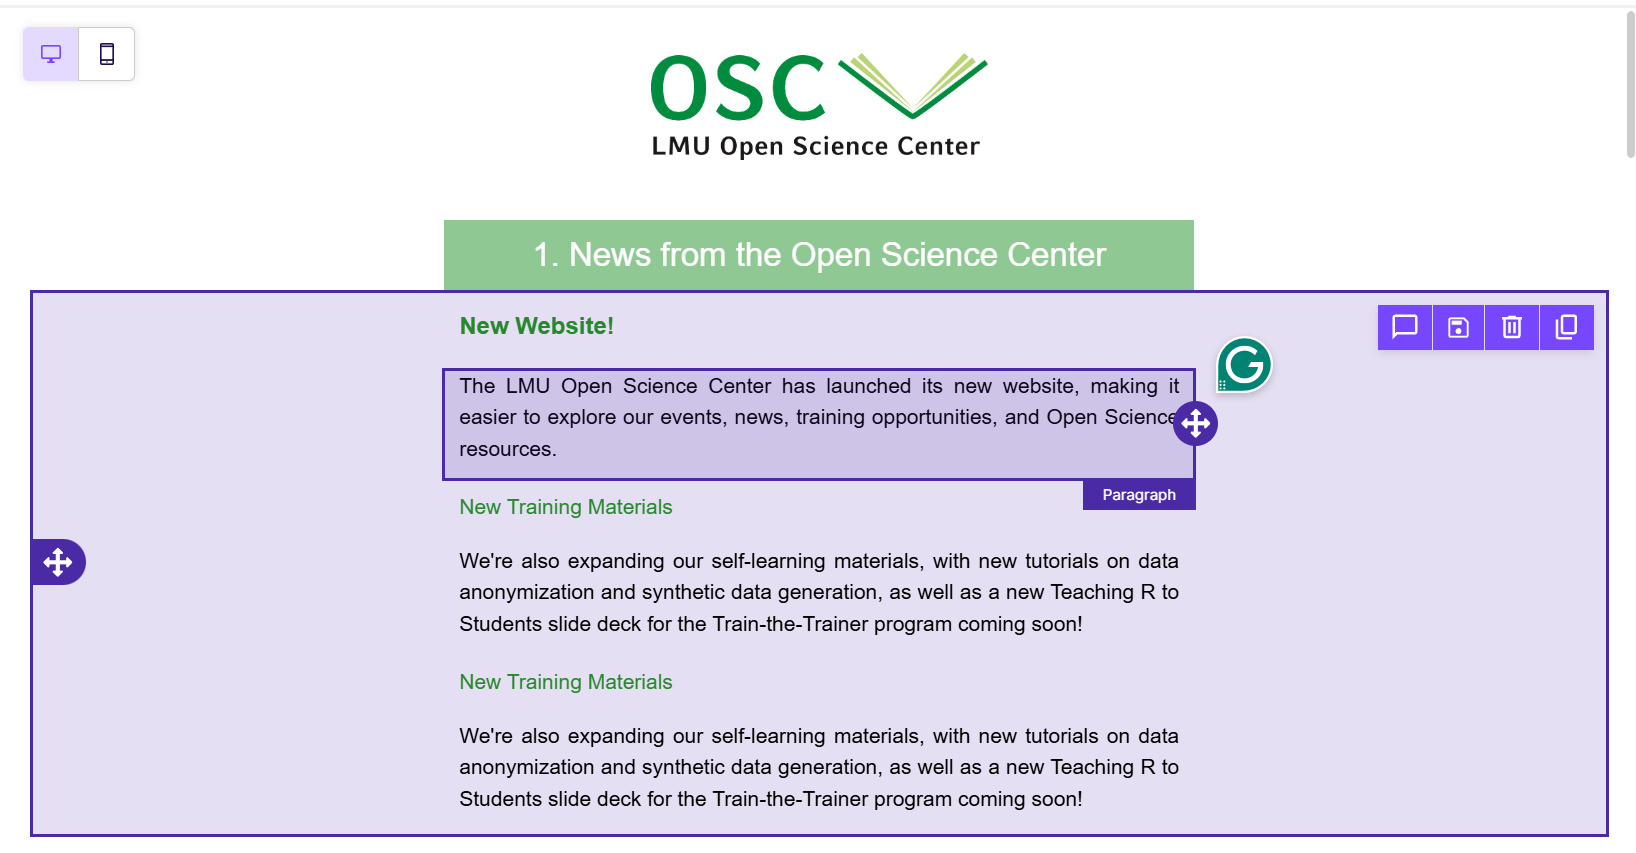
Understanding Rows and Content
- Rows define the overall layout of a section.
- For example:
- One column
- Two columns
- Three columns
- For example:
- Content blocks are the elements placed inside those rows, such as:
- Images
- Paragraphs
- Headings
- Buttons
- Dividers
- Social media icons
To create a section:
- Drag the desired Row layout into the newsletter.
- Drag the appropriate Content blocks into each column of that row.
- Edit the content as needed.
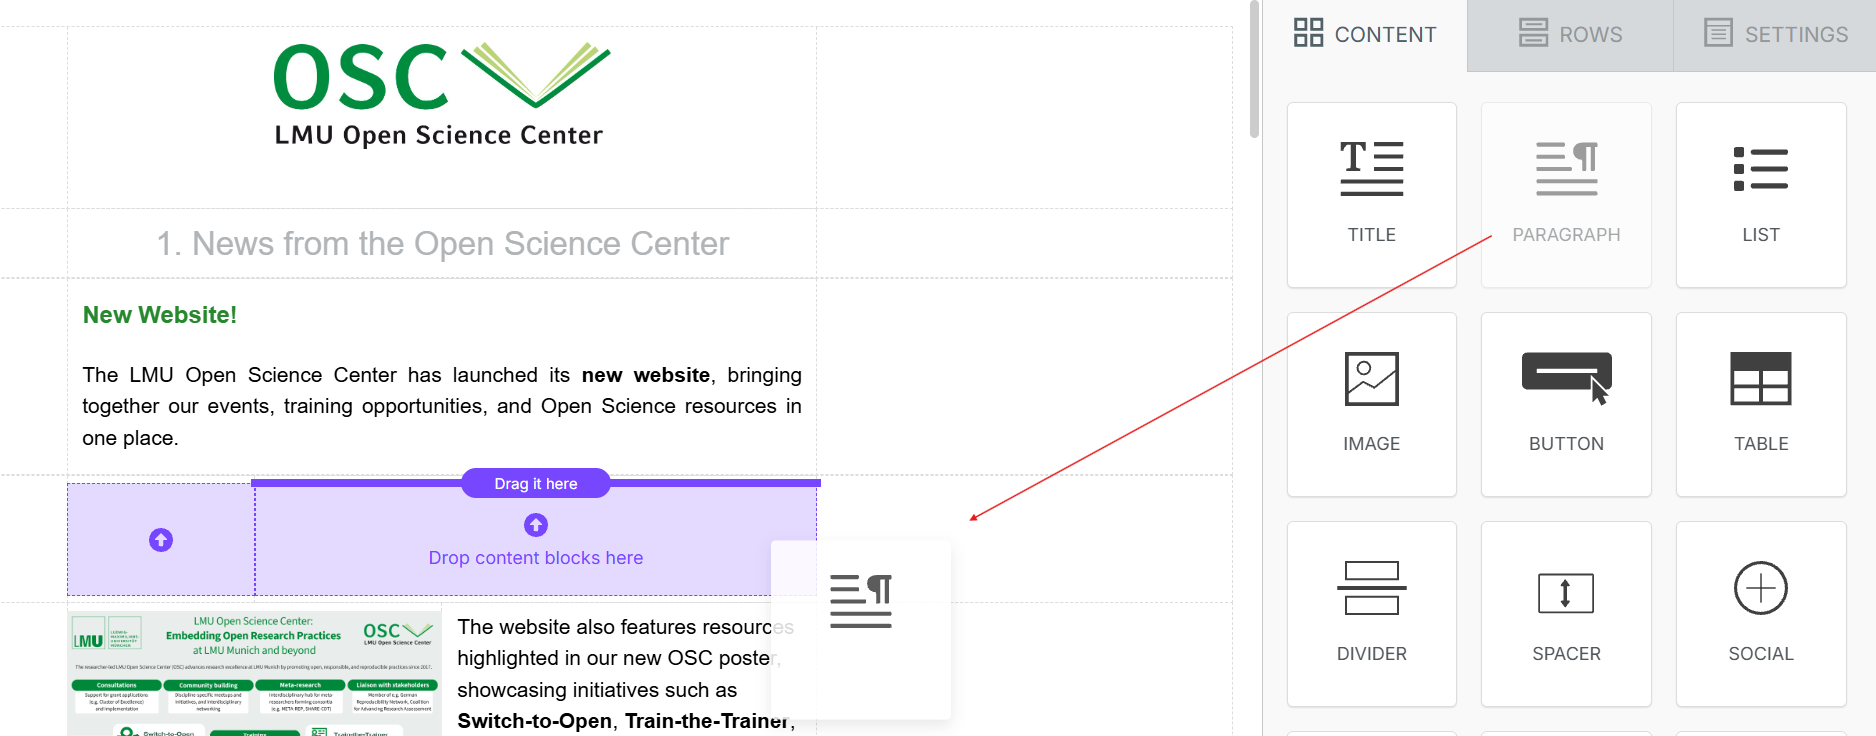
Whenever possible, duplicate existing sections instead of creating new ones from scratch. This preserves:
- Font size
- Font colour
- Spacing
- Alignment
- Overall formatting
The standard keyboard shortcuts (Ctrl + Z on Windows or ⌘ + Z on macOS) generally do not work within the editor.
Although an Undo button is available in the bottom-left corner, using it can occasionally disrupt the layout or reorder recently added content.
Whenever possible, correct mistakes manually by:
- Deleting unwanted content
- Retyping text
- Moving content blocks back into place
This helps avoid unexpected formatting issues.
Adding Images
Adding images follows a standard workflow to keep the media library organised.
Step 1 — Insert an Image Block
Drag an Image content block into the appropriate row.
Then click Browse.
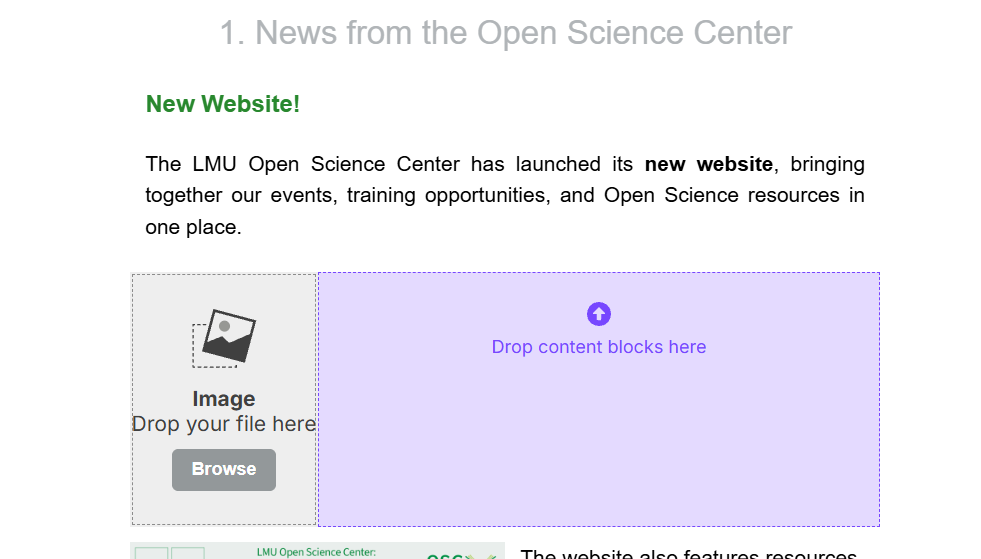
Step 2 — Create an Image Folder
Inside the image browser:
- Open the Imported folder.
- Create a new folder named after the current newsletter.
This keeps all images for a particular newsletter together and makes them easier to locate later.
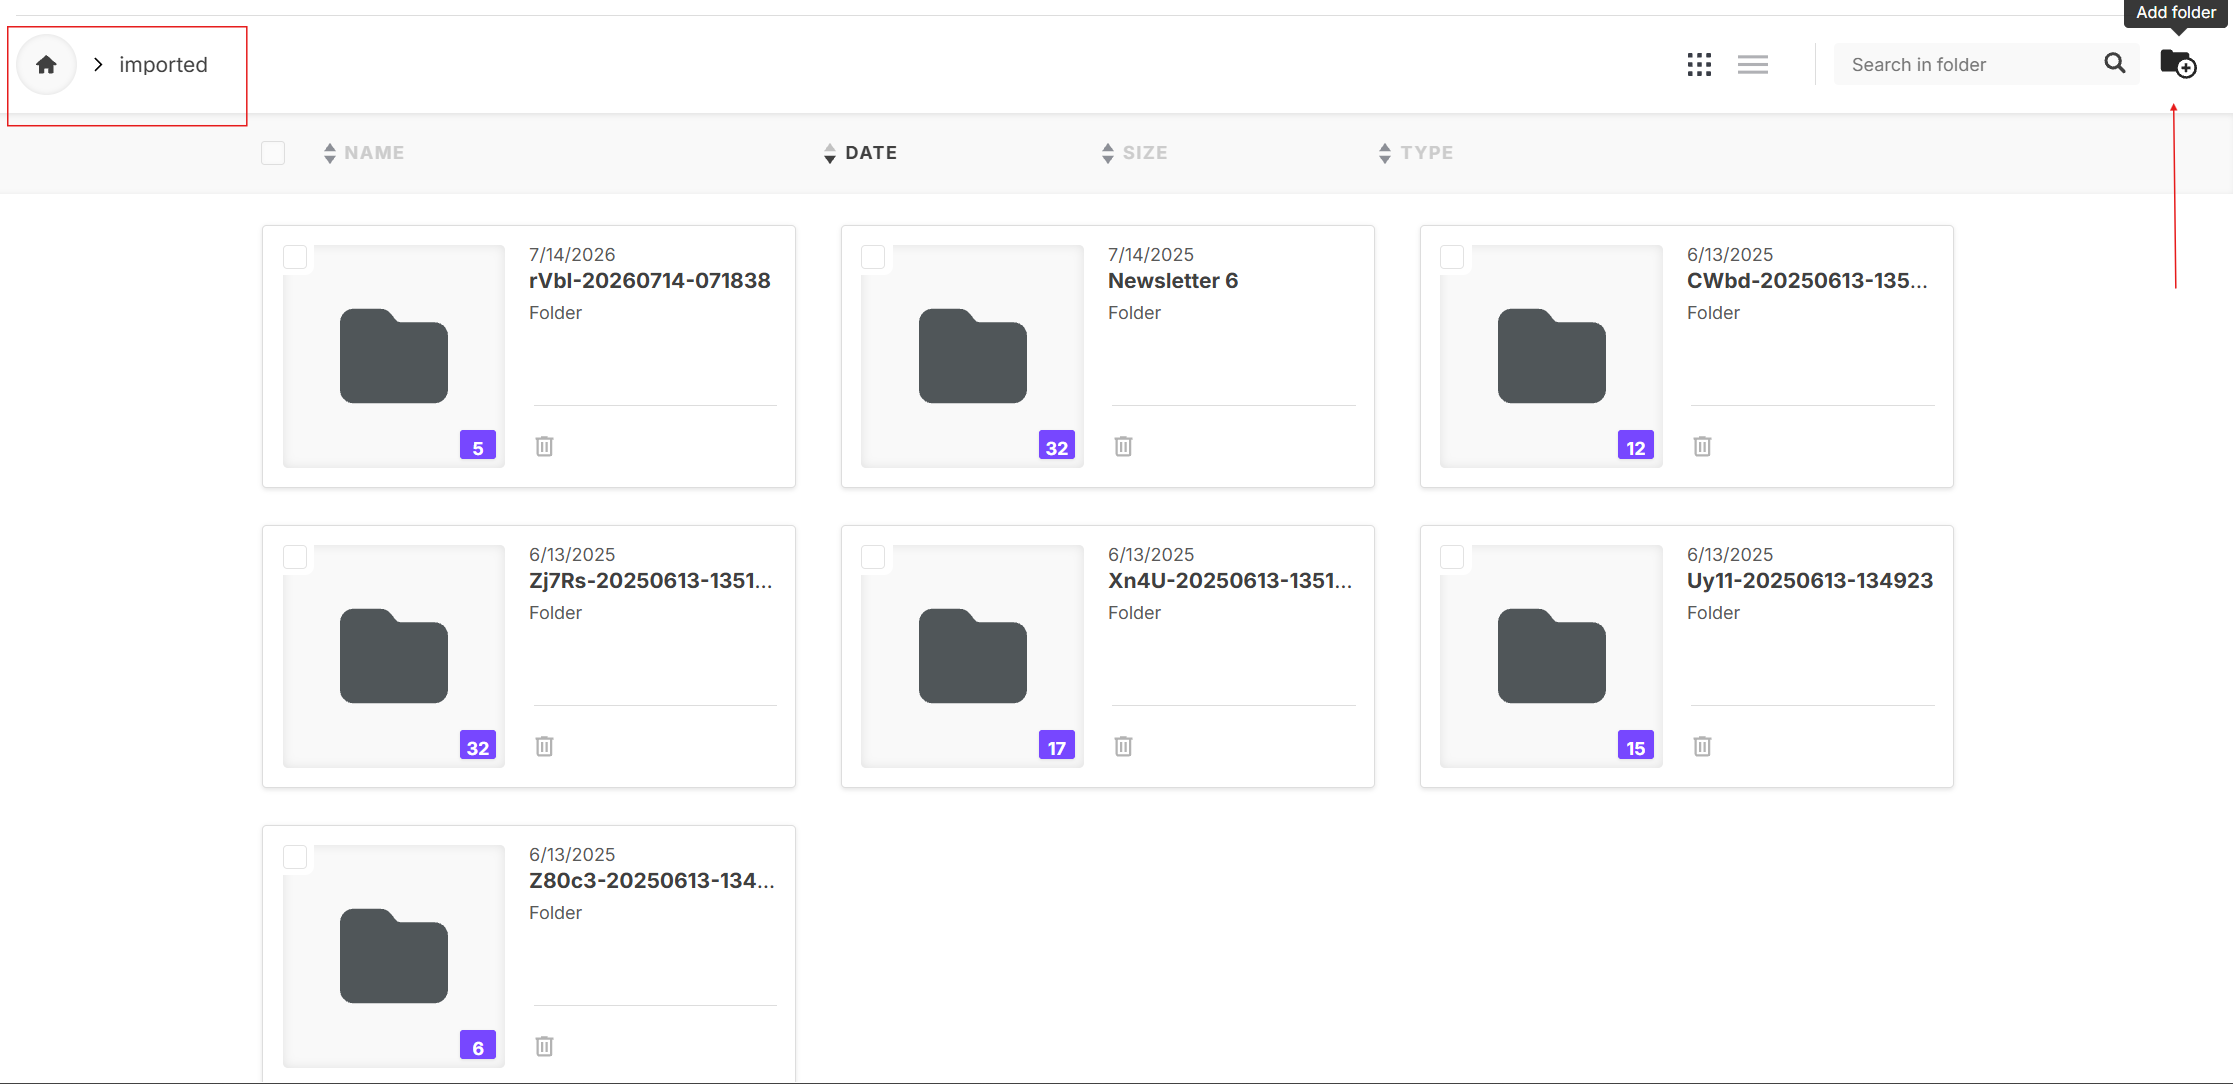
Step 3 — Upload Images
Upload all images required for the newsletter into the newly created folder.
Once uploaded, select the desired image and insert it into the newsletter.
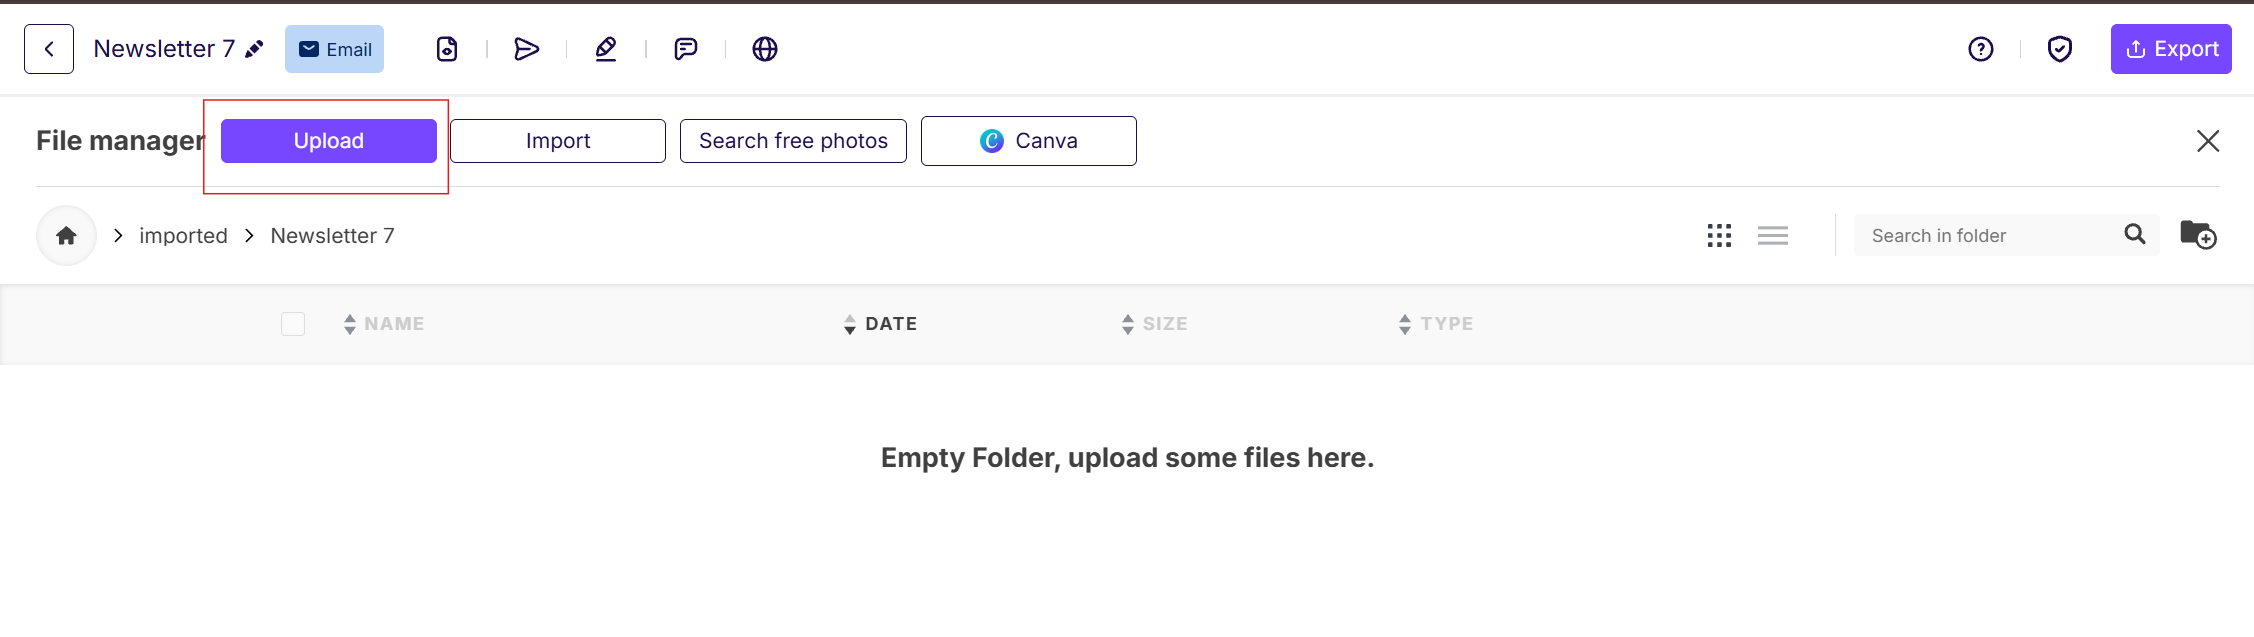
Following this folder structure helps keep the image library organised and simplifies future updates or revisions.
Sending the newsletter
To test the email formatting, spot final mistakes, send a test email to yourself:
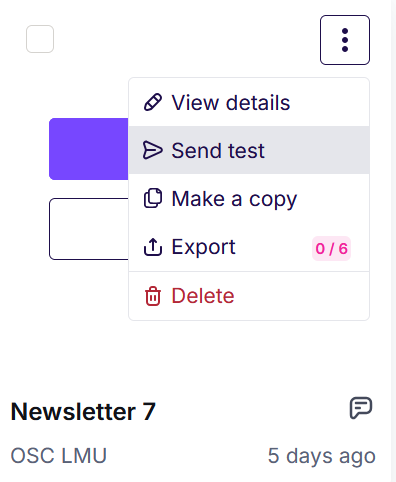
When a final version is ready to be sent out to our community mailing list, send a test email to Malika. She will then forwarded it to the list.
Posting the newsletter on the OSC website
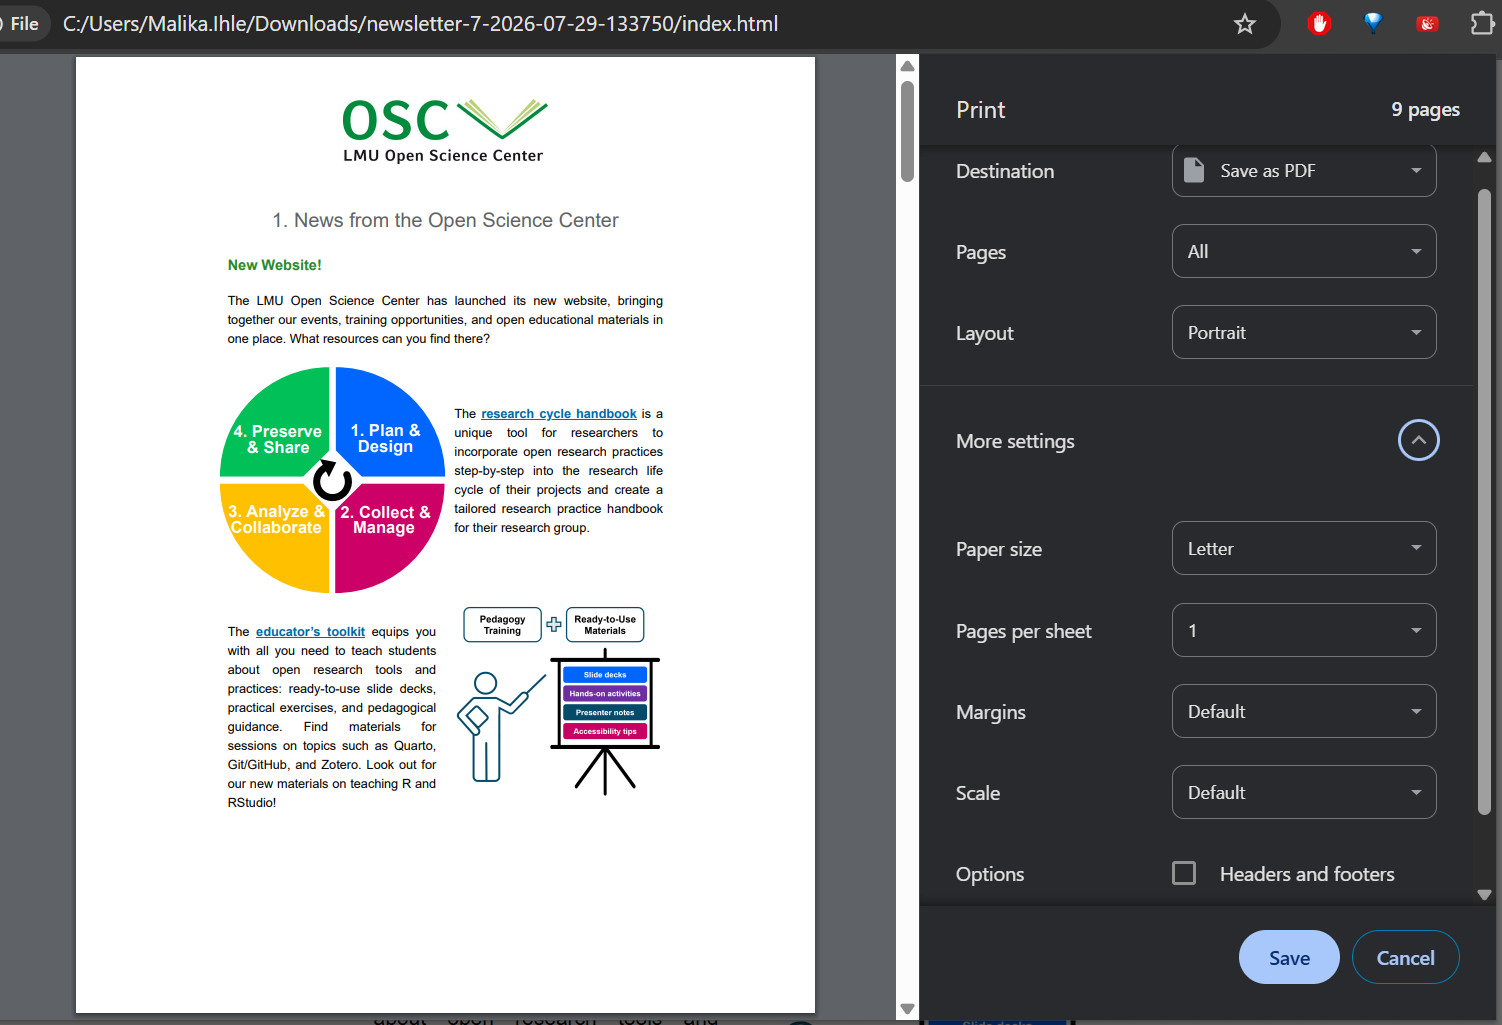
Export the newsletter as a html and image download.
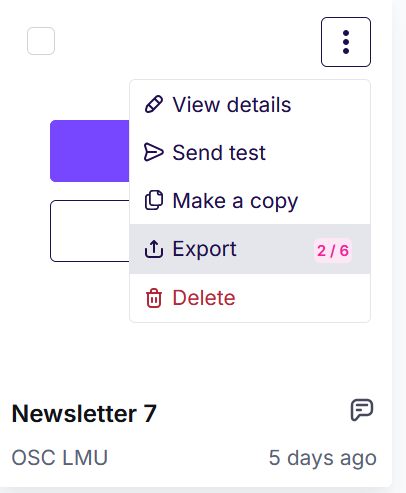
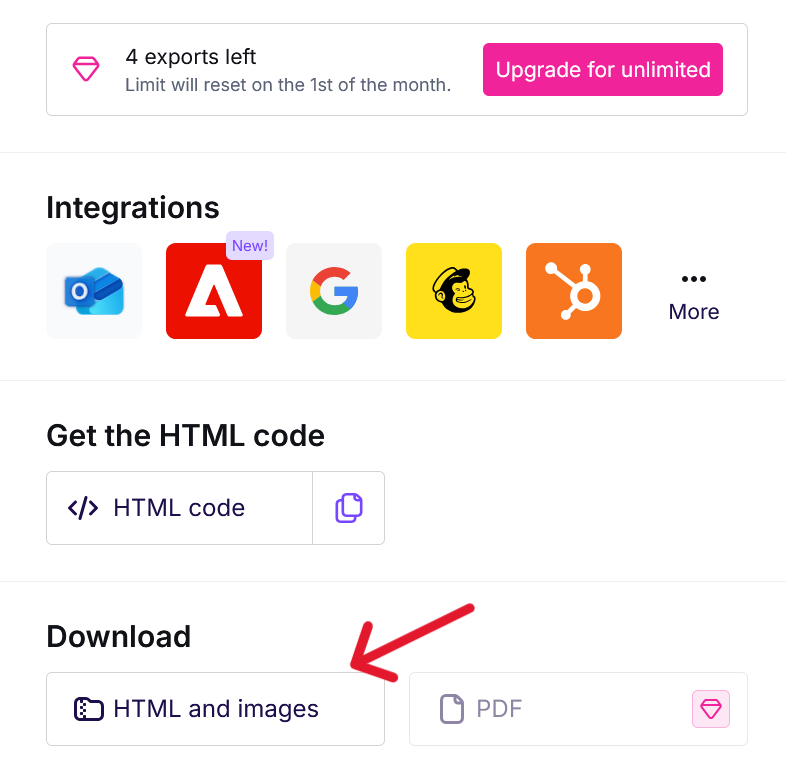
Then extract the html and image folder from the zip file downloaded and open the html file (which will open in your browser). FInally, use the print to pdf function of your browser (removing headers and footers) to create a news item on the main website for record (see Create news item).