plot(mtcars$mpg, mtcars$hp)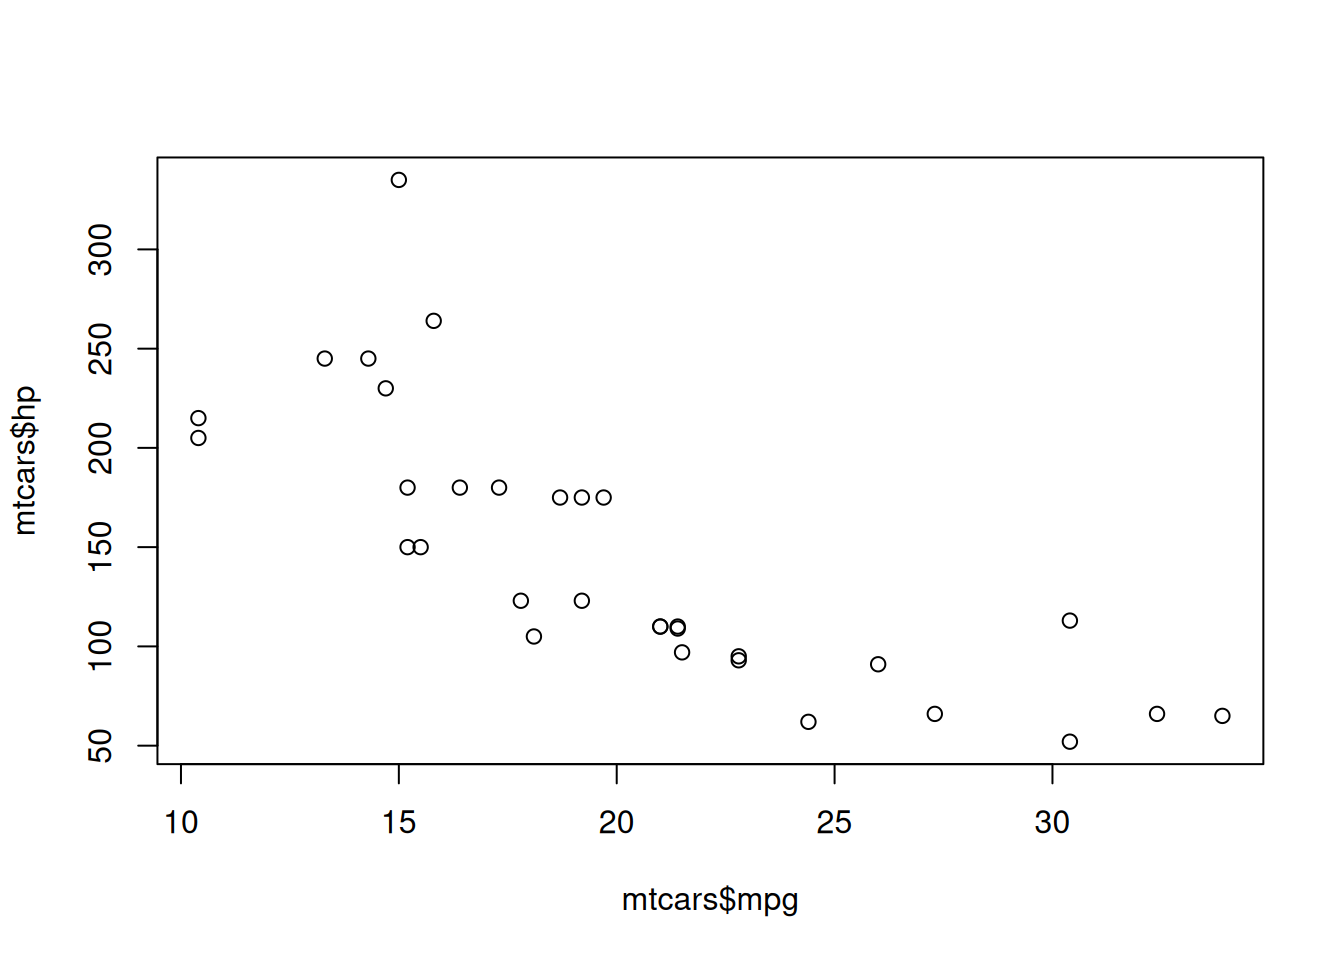
A brief overview of Quarto and how we use it to create our website
Quarto is an open-source scientific and technical publishing system built on Pandoc. It allows you to create documents, presentations, websites, books, and more using straightforward Markdown syntax. We use Quarto to build our websites because it provides a powerful and flexible way to manage content and publish it in a variety of formats. For example, we can write our tutorials in Markdown and then use Quarto to generate HTML pages for our website, as well as PDF, PowerPoint, and Word documents for sharing, printing, and repurposing.
Quarto is the successor to RMarkdown and is designed to be more flexible and powerful than its predecessor. It also has a growing ecosystem of extensions and plugins that allow you to customize your documents and add new features. If you come from a Python background, the Markdown syntax and other features of Quarto should feel familiar — you can use Python code chunks in your documents just like you would in Jupyter notebooks.
.qmd file formatA Quarto document (.qmd) is essentially a plain-text file that combines three elements:
--- lines, where you set the title, author, date, output format, and various rendering options.```{language} that can be written in R, Python, Julia, or Observable JS. Code chunks can be run during rendering so their outputs (plots, tables, printed results) are included directly in the final document.This combination makes .qmd files an example of literate programming: your narrative and your code live in the same file, making your analysis more transparent, reproducible, and easier to maintain.
Quarto can render individual .qmd files in isolation, but for a project like a tutorial series or a website, you will typically work with a Quarto project — a folder containing a _quarto.yml configuration file alongside your .qmd files, images, and other assets. The _quarto.yml file controls:
website, book, manuscript)When it comes to formatting and styling your documents, Quarto provides many options for customizing the appearance of your content. You can use CSS to style your HTML output, and you can also use YAML front matter to specify options for your documents, such as the title, author, date, and more.
For a more detailed introduction, check out the official Quarto documentation. There is also an extensive Quarto Guide with reference material on all aspects of the system.
tutorial-template repositoryWe developed the tutorial-template repository to provide a standardized starting point for all of our tutorials. This template includes a basic structure for a Quarto project, as well as pre-configured settings and styles that we use across all tutorials. When you create a new tutorial, you can simply clone the repository and start editing the content.
The goal of the template is to make it quick and easy to create new tutorials without having to worry about the technical details of setting up a Quarto project from scratch. By providing a standardized template, we ensure that all tutorials have a consistent look and feel, and we make it easier for new authors to get started creating content for our website.
We assume you can download and install Quarto on your local machine. If you have any issues, please reach out and we can help you get set up. Once Quarto is installed, you can use it by running the quarto command in your terminal. See the command reference for a full list of available commands.
You will only need a handful of commands on a regular basis:
quarto preview — preview the project locally (the command you will use most often)quarto add — add extensions to your projectquarto publish — publish your project to GitHub Pages (discussed in more detail in the following chapters)Here is how we generally expect authors to work with a Quarto project:
Create a new project. In the context of the tutorial-template, this simply means cloning the repository and opening it in your code editor.
Open the project properly. Use your preferred text editor (e.g. VS Code, Positron, RStudio). Be sure to open the folder containing the project files, not just individual files. This allows your editor to recognize the project structure and provide features like syntax highlighting and file navigation. The terminal will also be set to the project directory, which is important for running Quarto commands and other scripts that rely on relative file paths.
Edit the content. For the tutorial-template, this primarily means creating and editing .qmd files and including them in the _quarto.yml file so they appear in the website navigation. Each .qmd file can have its own YAML front matter to set the title, subtitle, and other page-specific options. You can also edit other files such as CSS for styling or YAML files for configuration.
Inside a .qmd file, you can:
Preview your changes. Run quarto preview in the terminal. This starts a local web server and opens your default browser to display the website. As you save changes, the preview automatically updates to reflect them.
Important: Do not use the “Render” button in RStudio or the “Run” button in VS Code to preview Quarto documents. These may not render the website correctly and can lead to confusion. Always use
quarto previewin the terminal.
Use version control. Work on a dedicated git branch, make regular commits with descriptive messages, and push your changes to GitHub frequently. This helps you keep track of your changes and makes it easier to collaborate with others. See the Tech Overview and the GitHub Review pages for more information on working with git and GitHub.
Here are some of the most commonly used Quarto features that you will encounter when creating tutorials:
Quarto provides flexible options for adding images to your documents. You can include local images from your images/ folder or link to external images. Images can be given captions, cross-references, and custom sizing:
{#fig-example width=80%}
See @fig-example for an illustration of the concept.See the figures documentation for details.
Cross-referencing is highly recommended for tutorials with multiple pages. It allows you to easily link to other pages, sections, figures, tables, or equations in your tutorial and ensures those links stay up-to-date, even if you change the structure later on. To cross-reference a heading, add an identifier with the {#my-id} syntax:
## Data Preparation {#sec-data-prep}

As discussed in @sec-data-prep, you should clean your data first.
Learn more about cross-references in Quarto.
Callout blocks are a great way to highlight important information, provide tips, warnings, and more. They make your content more engaging and easier to read. Quarto supports several callout types:
::: {.callout-note}
This is a note — useful for general information.
:::

::: {.callout-warning}
This is a warning — draw attention to potential pitfalls.
:::

::: {.callout-important}
This highlights something critical that readers must not miss.
:::
See the callouts documentation for usage instructions.
Code chunks let you include executable code in your tutorial. The code runs when the document is rendered, and its output (plots, tables, console output) is inserted directly into the page. You can control chunk behavior with options such as:
plot(mtcars$mpg, mtcars$hp)
Quarto supports R, Python, Julia, and Observable JS code chunks. See the code execution documentation for more details.
You can create both plain Markdown tables and more advanced formatted tables with captions and cross-references:
| Method      | Description                  |
|-------------|------------------------------|
| `qmd`       | Quarto document file         |
| `yml`       | Configuration file           |
| `css`       | Custom stylesheet            |

: Supported file types {#tbl-filetypes}
And the resulting table will look like this:
| Method | Description |
|---|---|
qmd |
Quarto document file |
yml |
Configuration file |
css |
Custom stylesheet |
The table here is even cross-referencable with @tbl-filetypes: Table 1. Learn more about tables in Quarto.
There is much more to discover in the Authoring and Websites sections of the Quarto guide. A few other useful features worth exploring:
Feel free to explore these resources, ask your favorite LLM, or reach out to other OSC members for recommendations on useful Quarto features.
The features listed above are some of the most commonly used in our tutorials and are a good starting point for new authors. Take the time to familiarize yourself with them and consider how they can enhance your tutorials before you start creating content.